Sinking pavers can make a patio, walkway, or driveway look uneven and create uncomfortable walking surfaces. The problem often starts underneath the pavers due to poor base preparation, inadequate compaction, drainage issues, soil movement, or water beneath the surface. For homeowners in Round Rock and the surrounding Central Texas area, identifying the cause is the first step toward a lasting repair.
The first step in fixing sinking pavers is identifying what caused them to settle. This guide explains why pavers sink, how to repair sunken pavers, common mistakes to avoid, and how to keep them from sinking again.
Why Are My Pavers Sinking?
Pavers depend on the layers beneath them for stability. If the soil, aggregate base, bedding layer, or drainage system is not working properly, the surface can eventually become uneven.
Here are some of the most common reasons for sinking pavers.
Poor Base Preparation
A strong base is essential for a stable paver surface. If the base is too thin, made with unsuitable material, or not properly installed, it can settle under the weight of the pavers and everyday use.
Inadequate Compaction
Loose soil or aggregate can compress after installation. As the supporting material settles, the pavers above it may sink or shift.
This is one reason proper compaction matters during both installation and repair.
Drainage Problems
Water is another common cause of sunken pavers. When water collects around or beneath a paved surface, it can weaken the soil or wash away supporting material.
Poor grading, heavy runoff, blocked drainage, or water flowing toward a patio can all contribute to the problem.
Soil Movement
Soil does not always stay in the same condition. Changes in moisture, recently disturbed soil, or natural settlement can cause the ground beneath pavers to move.
When that happens, the pavers can move with it.
Loose or Damaged Edge Restraints
Edge restraints help keep pavers from spreading outward. If they become loose or damaged, surrounding pavers can shift and eventually become uneven.
Heavy Loads
Pavers installed for a patio or walkway are not necessarily designed to handle vehicle traffic or heavy equipment. Placing loads on a surface beyond its intended use can contribute to settlement.
Irrigation or Water Leaks
A leaking irrigation line can keep one section of soil wet for an extended period. If pavers repeatedly sink in the same area, it is worth checking for a hidden water problem.
How to Fix Sunken Pavers
Once you know what caused the problem, you can begin the repair. For a localized area, repairing sunken pavers generally involves removing the affected pavers, correcting the base, and resetting the surface.
Step 1: Find the Cause
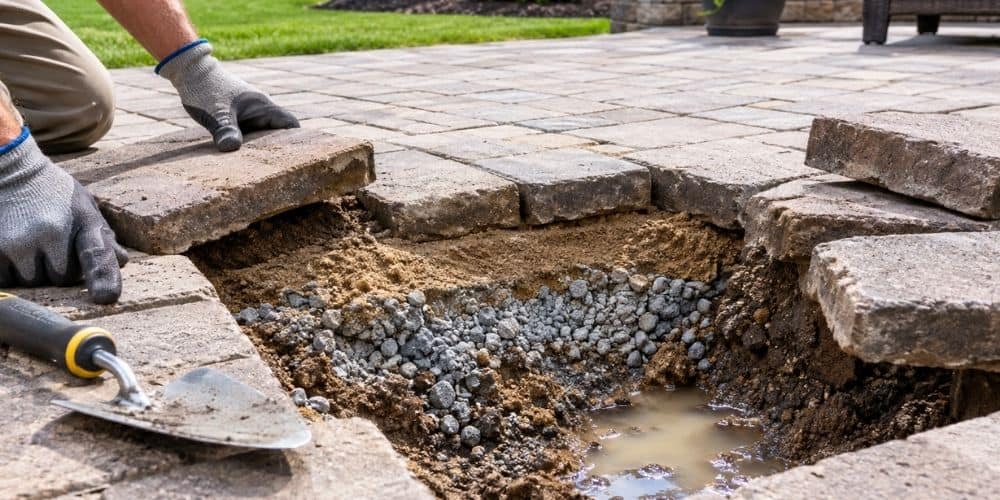
Before lifting anything, look closely at the affected area.
Is water collecting there after rain? Are the edges spreading? Does the area sit near a downspout or irrigation line? Is the settlement limited to a few pavers or affecting a larger section?
Finding the cause first helps prevent the same problem from returning.
Step 2: Remove the Affected Pavers
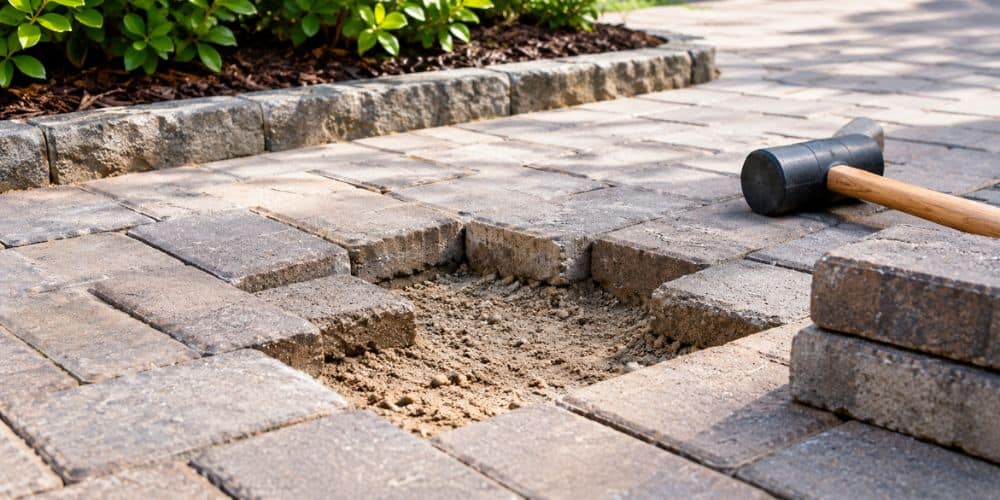
Carefully lift the sunken pavers and set them aside. If possible, keep them in their original order so the existing pattern can be restored.
Removing the pavers gives you a clear look at what is happening underneath.
Step 3: Check the Bedding Layer and Base
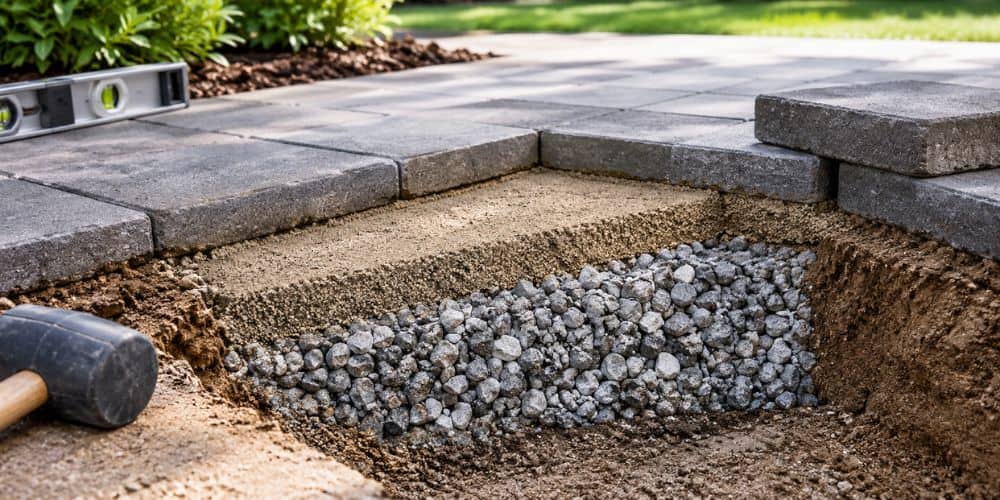
Inspect the material beneath the pavers for soft spots, erosion, excess moisture, or areas where the base has settled. The base provides the main structural support, while the bedding layer helps create an even surface for the pavers. If either layer is unstable, the affected area may need to be rebuilt before the pavers are reset.
Step 4: Fix Any Drainage Issues
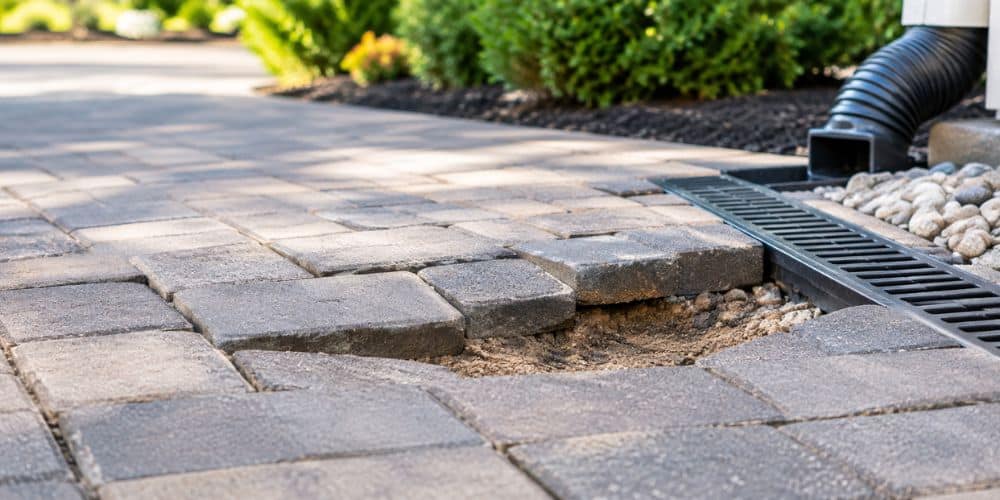
If water caused the settlement, correct the drainage problem before resetting the pavers.
Check the surrounding grade, downspouts, irrigation, and runoff paths. Water should have a clear route away from the paved surface instead of collecting underneath it.
For larger drainage problems, an outdoor drainage system may be needed to redirect water away from the area.
Step 5: Rebuild and Compact the Base
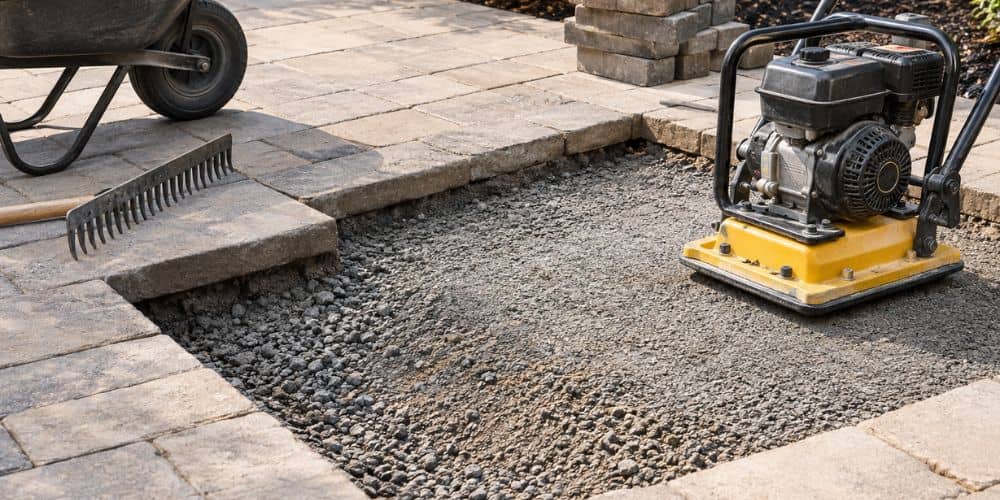
Remove unstable material and replace it with the appropriate base material for the installation. Build the base in manageable layers, compacting each layer thoroughly before adding the next. Proper compaction helps create a stable foundation and reduces the risk of future settlement.
This step is one of the most important parts of fixing sinking pavers. A smooth-looking surface will not stay level if the foundation underneath remains loose.
Step 6: Restore the Bedding Layer
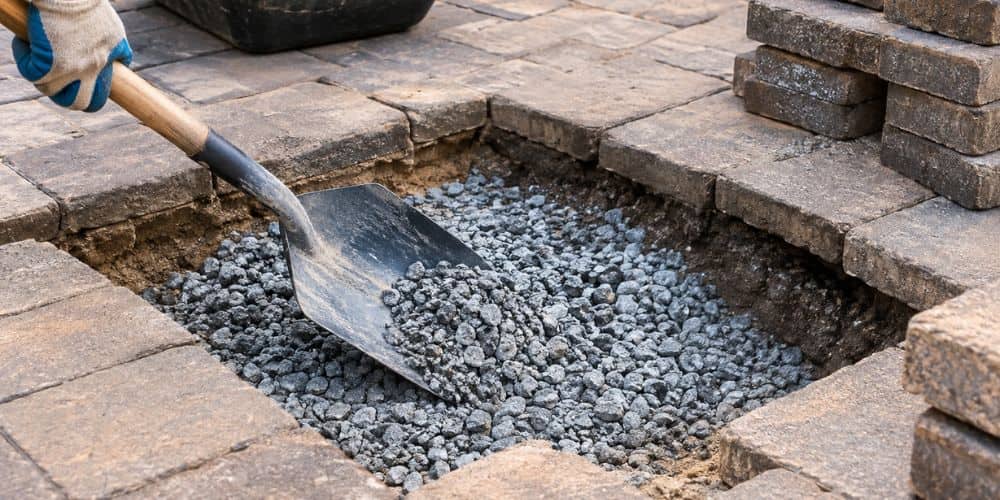
Once the base is stable, rebuild the bedding layer and grade it evenly so the pavers can be reset at the proper height.
Avoid using an excessively thick bedding layer to compensate for a weak base. The bedding material should support the pavers, not make up for poor foundation preparation.
Step 7: Reset the Pavers
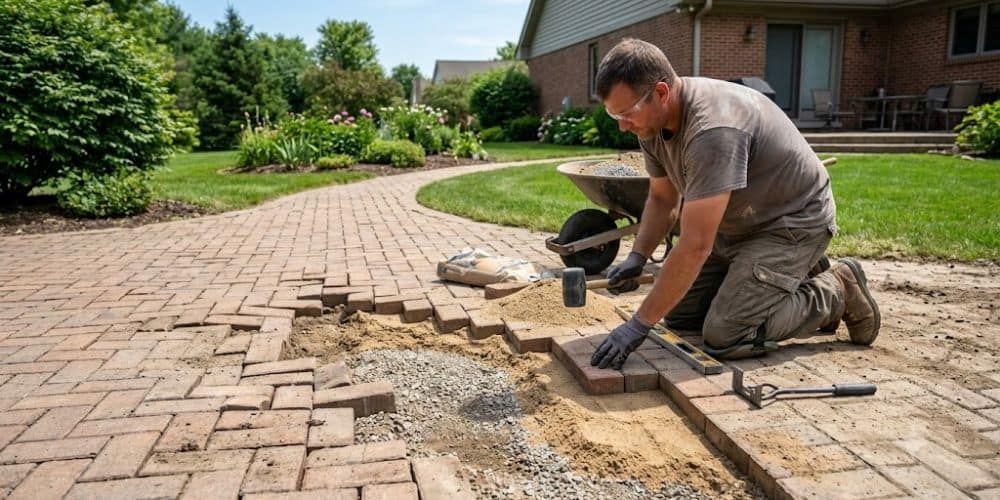
Place the original pavers back into position and match the surrounding pattern and spacing.
Check the height against nearby pavers as you work. The repaired area should transition smoothly into the surrounding surface without creating raised edges or new low spots.
Step 8: Refill the Joints
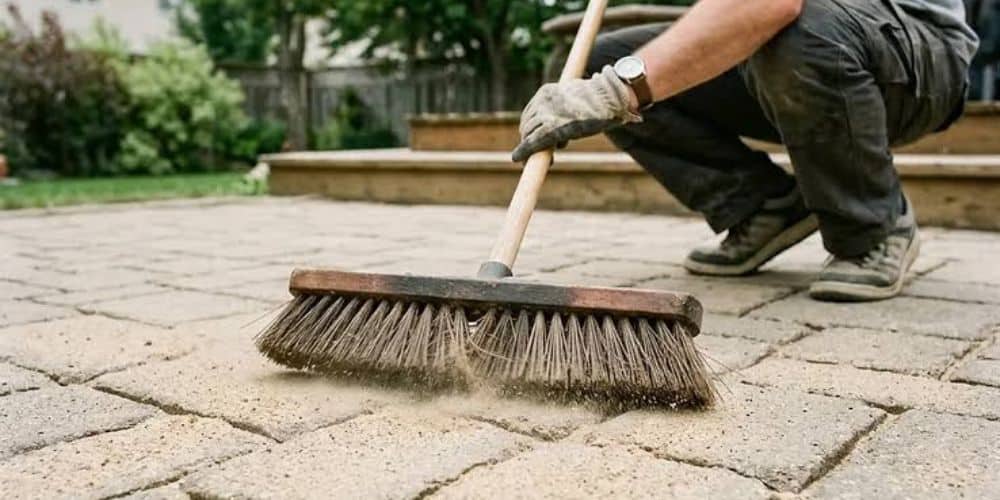
Once the pavers are properly positioned, refill the joints with suitable joint material.
Check the completed area for uneven spots and make sure the surface has the appropriate slope for water runoff.
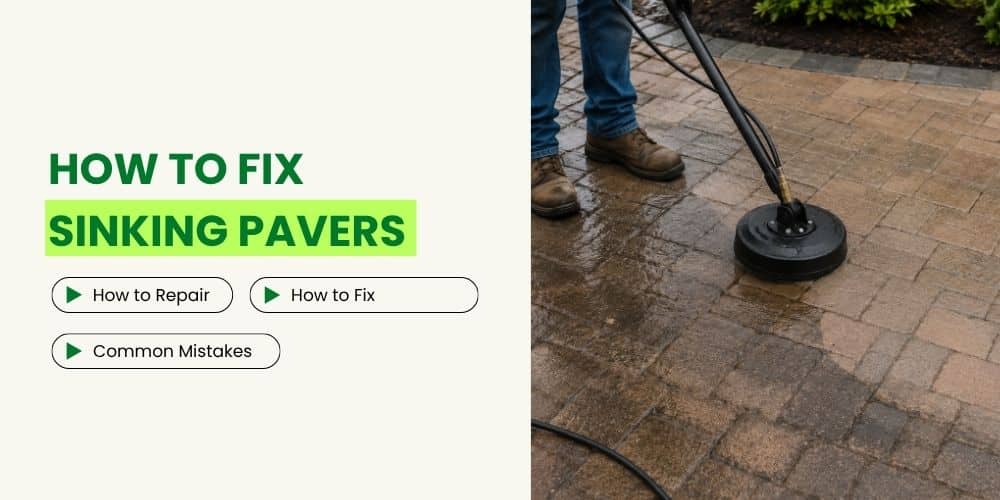
Once the repair is complete, keeping the surface clean can also help you spot new joint gaps, stains, or areas where movement may be developing. See our guide on how to clean pavers for practical maintenance tips.
How to Fix Uneven Patio Pavers
Uneven patio pavers can often be repaired using the same basic process. A few isolated pavers may only require removal, base adjustment, and resetting.
However, if a large portion of the patio is uneven, there may be a larger problem underneath. Poor drainage, soil settlement, inadequate base preparation, or widespread compaction issues can affect an entire section.
In that situation, repeatedly fixing individual pavers may only provide a temporary solution.
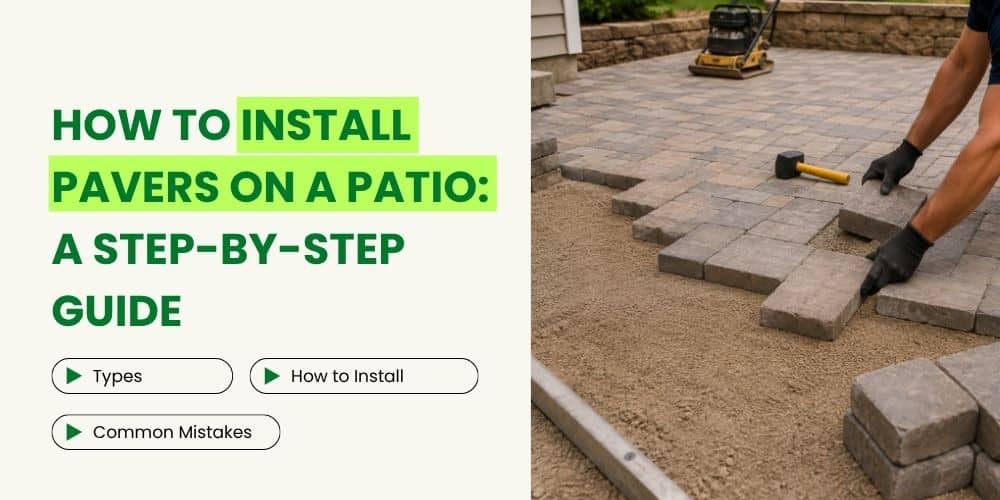
If the patio needs more extensive work or a complete rebuild, understanding the proper installation process can help explain why the base, bedding layer, grading, and compaction matter. See our guide on how to install pavers on a patio for the complete process.
Can You Fix Sinking Pavers Without Removing Them?
Sometimes homeowners try to solve sinking pavers by adding sand or soil around the low area. While this may temporarily improve the appearance, it does not address the underlying problem.
If the base has settled, water has washed material away, or the soil is unstable, the pavers may sink again.
For a lasting repair, the affected pavers usually need to be lifted so the material underneath can be inspected and corrected.
Common Mistakes When Repairing Sunken Pavers
Getting the pavers level again is only part of the repair. The underlying cause also needs to be addressed.
Adding More Sand Without Checking the Base
Extra sand cannot compensate for a weak or eroded foundation.
Ignoring Drainage
If water caused the settlement, resetting the pavers without correcting the drainage problem can lead to the same issue again.
Skipping Compaction
Loose base material can settle after the repair and leave the pavers uneven again.
Fixing Only the Visible Low Spot
The problem may extend beyond the area that looks sunken. Inspect the surrounding pavers and base before deciding how much needs to be repaired.
Ignoring Loose Edges
Unstable edge restraints can allow the repaired pavers to shift again.
How to Prevent Pavers From Sinking Again
Once the repair is complete, a few simple measures can help stop pavers from sinking again.
Start by managing water around the paved surface. Keep drains and downspouts directing runoff away from patios, walkways, and driveways. Watch for landscape changes that may send water toward existing pavers.
It is also important to inspect paver edges from time to time. Loose edge restraints, missing joint material, and small gaps can allow movement to spread if they are left unaddressed.
Heavy vehicles and equipment should also stay off surfaces that were not designed to support them.
Proper grading is another important part of prevention. When adding landscaping, turf, planting beds, or other outdoor features, consider how the changes may affect water flow around existing pavers.
Regular inspection can catch small problems before they turn into major paver repair projects.
Proper maintenance can also help protect the finished surface after repairs. If you are considering sealing your pavers, learn more about how to seal pavers and when sealing may be appropriate.
When Should You Call a Professional for Paver Repair?
A small, isolated section may be easier to repair when the surrounding base is stable and there are no underlying drainage or soil problems.
Professional help is worth considering when:
- A large area of pavers has sunk
- The same area keeps sinking after repairs
- Water regularly collects around the pavers
- The base has washed away
- Pavers are shifting near steps or structures
- A driveway or high-traffic surface is affected
- You cannot identify the cause of the settlement
If the problem involves a larger section of pavers, recurring settlement, drainage issues, or an unstable base, a professional assessment can help identify the cause before additional repairs are made.
Recurring settlement often means there is a deeper problem that needs to be addressed before the surface can remain stable.
Final Thoughts on Sinking Pavers
Sinking pavers are usually a sign that something beneath the surface needs attention. Poor compaction, drainage problems, soil movement, water leaks, and inadequate base preparation can all contribute to uneven pavers.
The key is to fix the cause, not just the low spot. Removing the affected pavers, correcting the base or drainage, and resetting the surface properly can help create a more stable and long-lasting result.
If your patio, walkway, or other paved area needs professional attention in Round Rock, The Works Lawn Service offers paver installation, patio extensions, walkways, and drainage solutions to help create a stable, functional outdoor space. Explore our hardscaping services to see how we can help with your project.
Frequently Asked Questions About Sinking Pavers
Why do my pavers keep sinking?
Pavers may keep sinking when the underlying cause has not been corrected. Poor compaction, unstable soil, drainage problems, erosion, or irrigation leaks can cause repeated settlement.
Can I put sand under sinking pavers?
Adding sand may temporarily level a paver, but it usually will not solve the underlying problem if the base has settled or washed away. The affected area should be inspected before adding new bedding material.
How do you fix sunken patio pavers?
Lift the affected pavers, inspect and repair the base, correct drainage problems if necessary, restore the bedding layer, and reset the pavers at the proper height and grade.
How can I keep pavers from sinking?
Proper base preparation, thorough compaction, good drainage, stable edge restraints, and correct grading can help keep pavers from sinking. Regularly checking for water problems can also prevent settlement.
When should I replace instead of repair pavers?
Individual pavers can often be reused when they are structurally sound and in good condition. Replacement may be appropriate when pavers are cracked, badly damaged, severely worn, or cannot be reset securely. Matching replacement pavers may also be needed if the original materials are no longer available.