Paver patios, walkways, and driveways can gradually lose their clean appearance as dirt, leaves, spills, weeds, and organic growth build up on the surface. Irrigation overspray, poor drainage, shade, and regular outdoor use can also contribute to stains and recurring buildup.
The right way to clean pavers depends on what is causing the problem and the condition of the surface. While some areas may only need sweeping and rinsing, stubborn stains, algae, oil, rust, or efflorescence may require a more targeted cleaning method.
Knowing how to identify the type of buildup and choosing a cleaning method that suits the paver material can help you clean the surface without unnecessarily damaging the pavers or washing out the joint material. This guide covers basic paver cleaning, stain removal, pressure washing, joint care, and ways to keep pavers cleaner between deeper cleanings.
Why Do Pavers Get Dirty and Stained?
Outdoor pavers can collect different types of buildup depending on their location and surroundings.
Common causes include:
- Dirt and dust
- Mud and soil
- Leaves and grass clippings
- Food and drink spills
- Oil and grease
- Rust
- Algae and moss
- Weeds between joints
- Irrigation overspray
- Rain and runoff
- White mineral deposits or efflorescence
Shaded areas that stay damp may develop algae or moss. Trees can leave leaves and organic material on the surface, while irrigation water can leave mineral deposits.
Before cleaning, identify what is causing the discoloration. A garden hose may be enough for loose dirt, while oil, rust, algae, and efflorescence may require more targeted treatment.
What Should You Know Before Cleaning Pavers?
Before applying a cleaner or using a pressure washer, inspect the paved area.
Identify the Paver Material
Concrete pavers, natural stone, porcelain, and other materials can have different cleaning requirements. A product that works on one surface may not be appropriate for another.
Identify the Stain
Look at the color and location of the buildup. Oil, rust, algae, leaf stains, and efflorescence should not all be treated in the same way.
Check the Surface
Look for cracked, broken, loose, or sunken pavers. Cleaning will not repair damaged pavers. If pavers are shifting or becoming uneven, the problem may be related to the underlying base or installation. Look for cracked, broken, loose, or sunken pavers. Cleaning will not repair damaged pavers. If pavers are shifting or becoming uneven, the problem may be related to the underlying base or installation.
Inspect the Joints
Check for weeds, moss, soil, gaps, and areas where joint sand has already eroded.
Consider Existing Sealer
If your pavers are sealed, make sure the cleaning product is compatible with the existing finish.
Look at Drainage and Irrigation
Notice whether water collects on the surface or sprinklers regularly spray the pavers. These conditions can contribute to recurring stains and organic growth.
Step-by-Step Guide to Basic Paver Cleaning
A regular cleaning routine can help prevent dirt and stains from becoming harder to remove. For many patios and walkways, basic cleaning can be done with a broom, garden hose, suitable cleaner, and brush.
Step 1: Inspect the Pavers and Joints
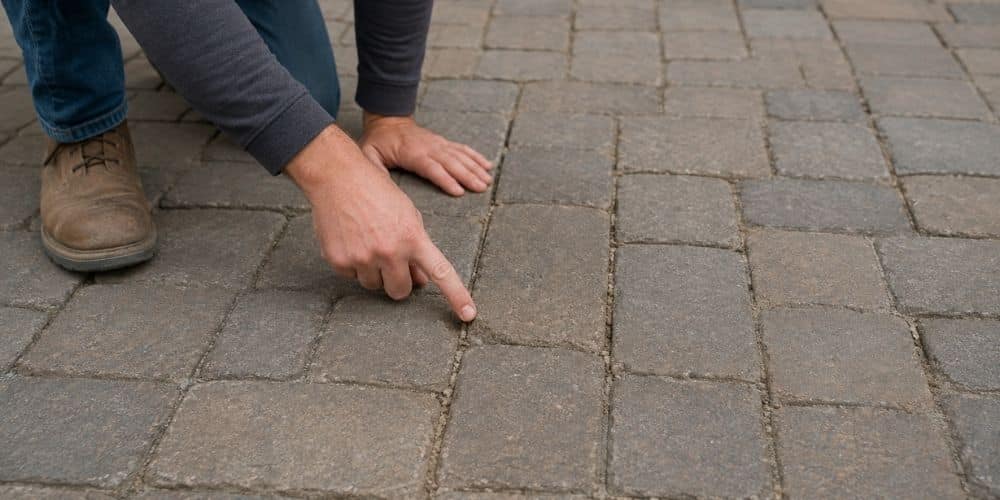
Start by looking over the entire area. Identify cracked or broken pavers and check whether any pavers are loose or uneven.
Inspect the joints for weeds, moss, missing sand, or erosion. If there are significant structural problems, address them rather than treating cleaning as the only solution.
Step 2: Clear the Area and Protect Nearby Plants
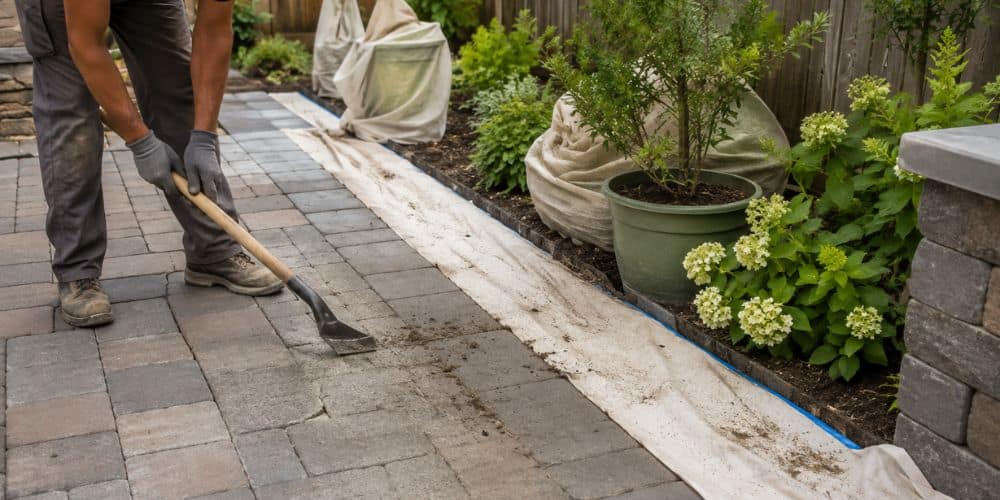
Move patio furniture, planters, grills, and other objects away from the cleaning area.
Sweep or blow away leaves, twigs, grass clippings, dust, and loose soil.
If you plan to use a cleaning solution, protect nearby plants and landscaping from unnecessary overspray. Follow the product instructions for safe use around vegetation.
Step 3: Prepare for Safe Cleaning
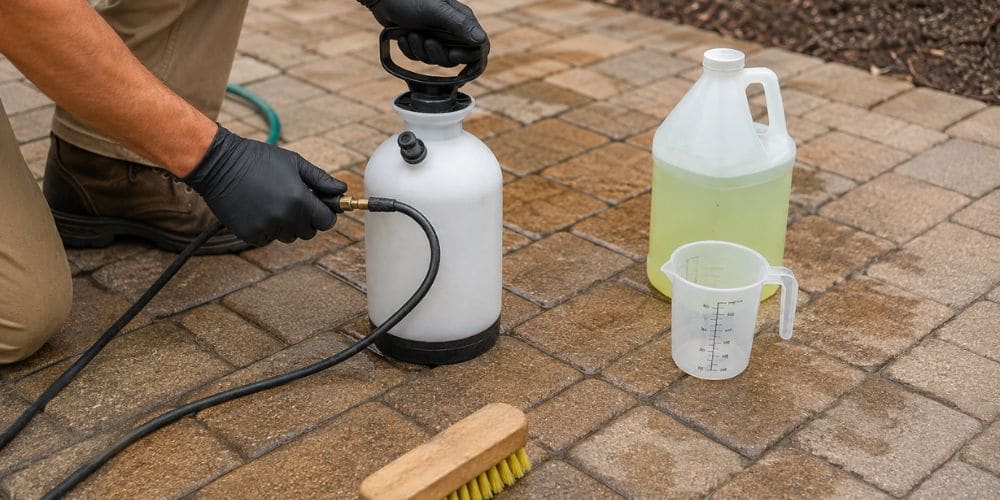
When using a commercial cleaning product, follow the manufacturer’s safety instructions. Depending on the product, protective gloves, eye protection, or other equipment may be recommended.
Never mix cleaning chemicals unless the manufacturer explicitly states that they can be combined.
Step 4: Rinse the Pavers
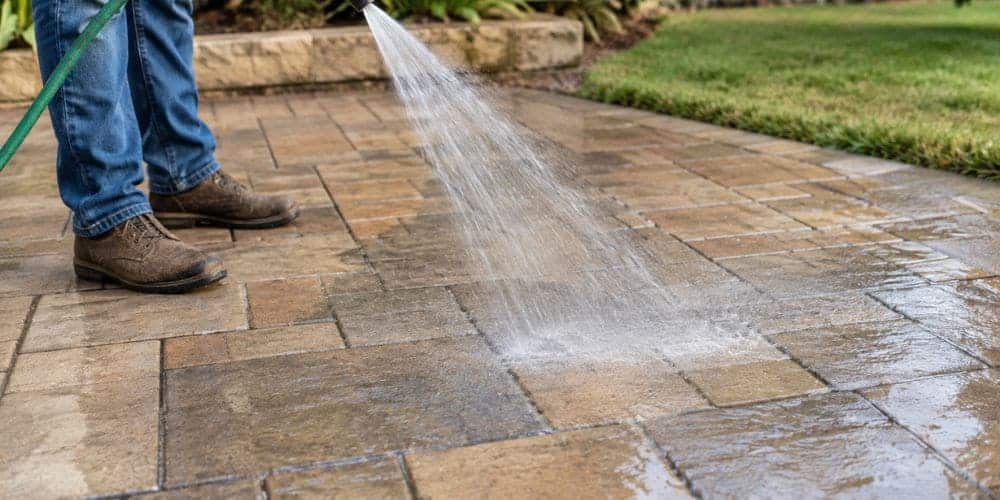
Use a garden hose to rinse away loose dirt and debris.
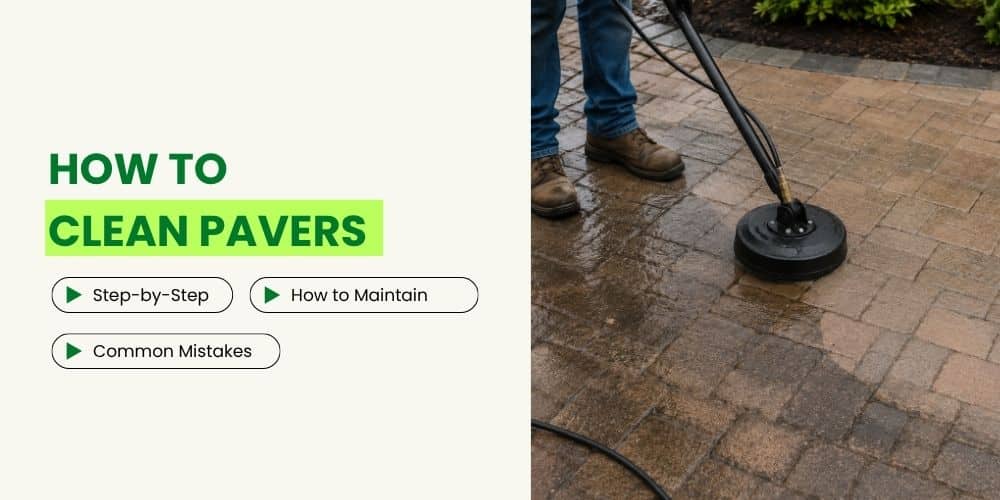
For routine cleaning, a hose may provide enough water pressure. If you are using a pressure washer, use a suitable setting and avoid directing excessive pressure into the joints.
Step 5: Apply the Cleaning Solution and Scrub
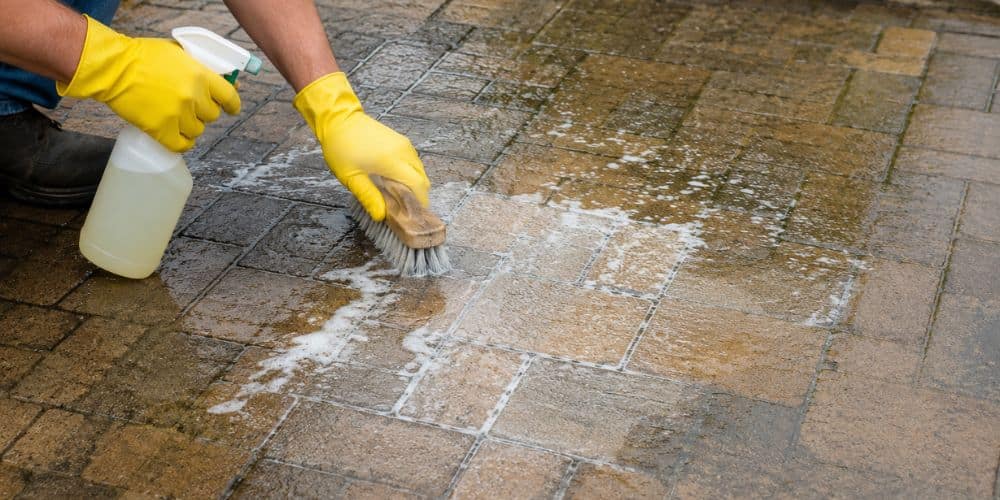
Choose a cleaner that matches both the paver material and the type of buildup.
Apply it according to the manufacturer’s directions and allow it to work for the recommended time.
Use a suitable stiff-bristle brush to scrub the surface. Concentrate on stained areas rather than applying excessive force everywhere.
Step 6: Rinse Thoroughly
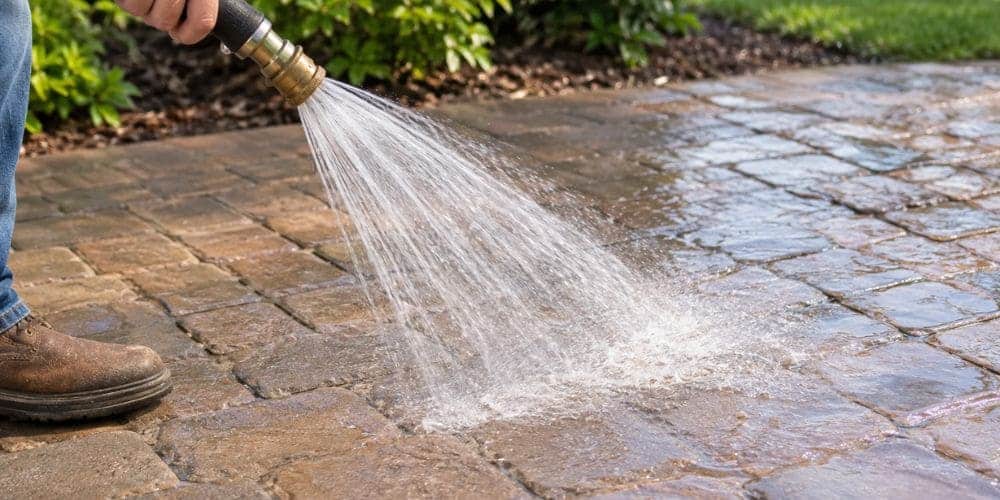
Rinse the pavers with clean water until the cleaning solution, loosened dirt, and residue have been removed.
Direct runoff toward an appropriate drainage area and follow local requirements when cleaning areas that may contain oil, chemicals, or other pollutants.
Step 7: Inspect the Joints After Cleaning
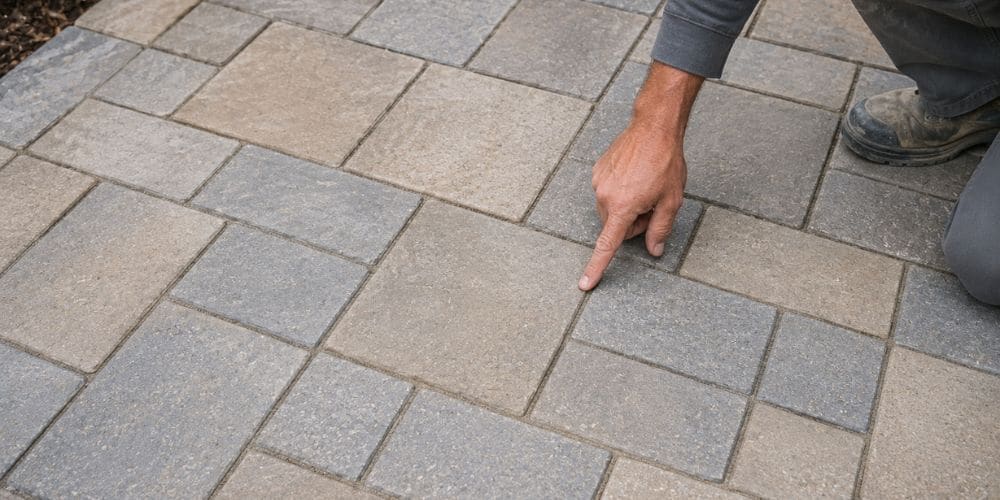
Once the pavers have dried, inspect the joints again.
If cleaning has removed joint material and gaps are visible, re-sanding may be necessary. Use the appropriate joint material for the installation and follow the manufacturer’s recommendations.
How to Choose the Right Way to Clean Pavers
There is no single cleaning method that works best for every patio. The right choice depends on the amount of dirt, type of stain, paver material, and condition of the surface.
Specialized Paver Cleaners
Specialized paver cleaners can be useful for stubborn stains such as oil, rust, or efflorescence. Choose a product specifically compatible with your paver material and follow the manufacturer’s application and safety instructions.
When using an unfamiliar cleaner, test it on a small, inconspicuous area first. A stronger cleaner is not necessarily a better choice for every surface.
Pressure Washing
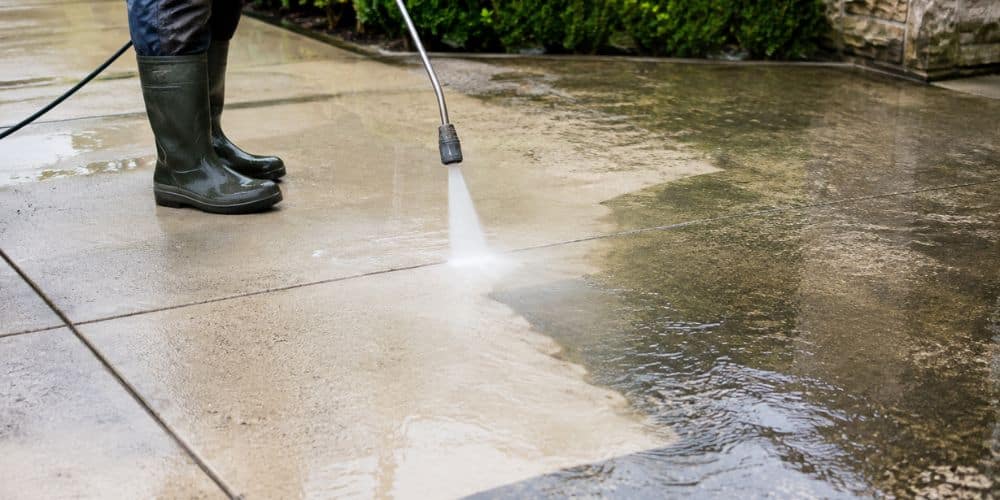
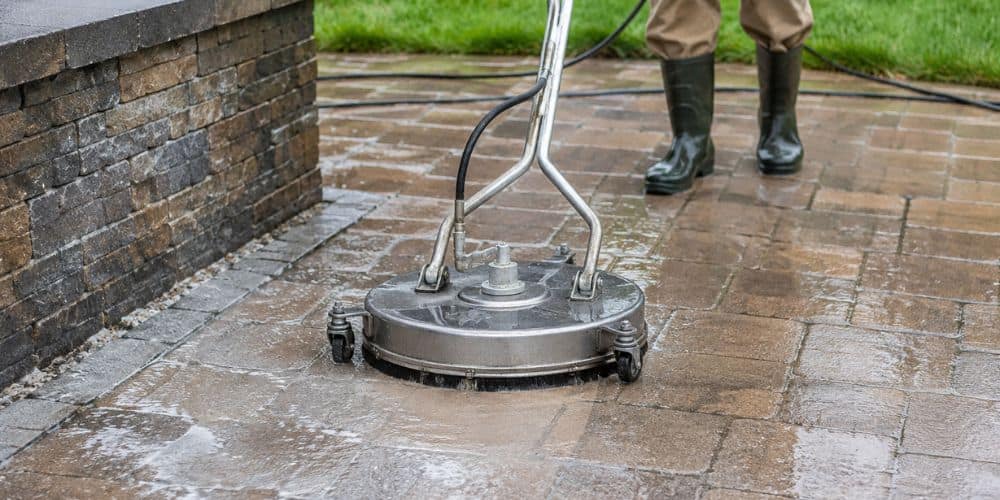
Pressure washing can be useful for larger paved areas with heavy surface dirt or buildup. However, excessive pressure can damage some surfaces and wash joint material from between the pavers.
Pressure washing should be treated as a cleaning tool rather than a solution for every paver-cleaning problem.
Soap and Water
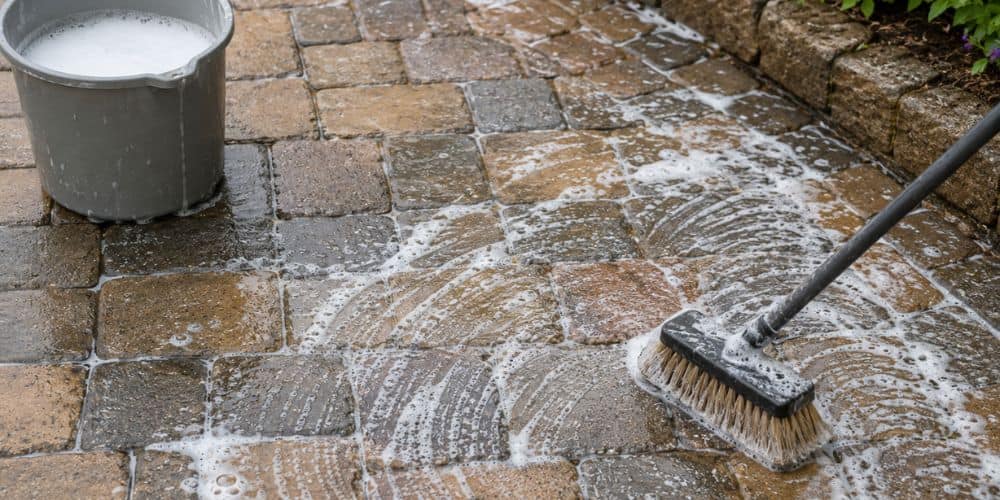
For light dirt and routine cleaning, mild soap and water may be enough on some paver surfaces. It is easy to rinse away, but it may not remove deep oil, rust, or heavy organic buildup.
Test a small area first and rinse the surface thoroughly after cleaning. More stubborn stains may require a compatible specialized cleaner or controlled pressure washing, depending on the paver material and joint condition.
How to Remove Stains From Pavers
Different stains need different treatments. Identifying the stain before choosing a cleaning product can help prevent unnecessary damage.
How to Clean Oil Stains From Pavers
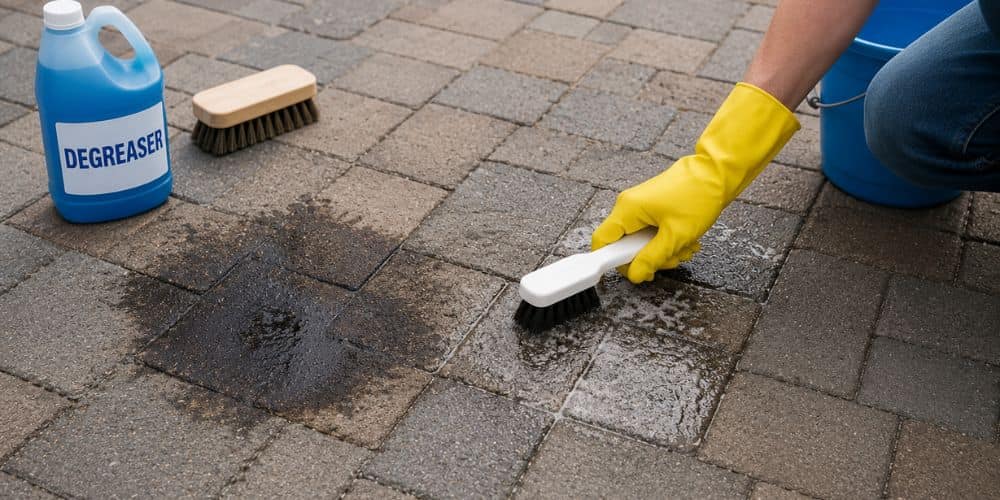
Oil and grease are common on driveways and outdoor areas where vehicles, grills, or equipment are used.
For a fresh spill, absorb as much of the oil as possible before cleaning. An appropriate absorbent material can help prevent the spill from spreading further. Avoid rubbing a fresh oil spill, as this can push the oil deeper into the surface.
After removing the excess, use a suitable degreaser or paver cleaner according to the manufacturer’s instructions.
Older oil stains may require more than one treatment.
How to Clean Mold and Mildew From Pavers
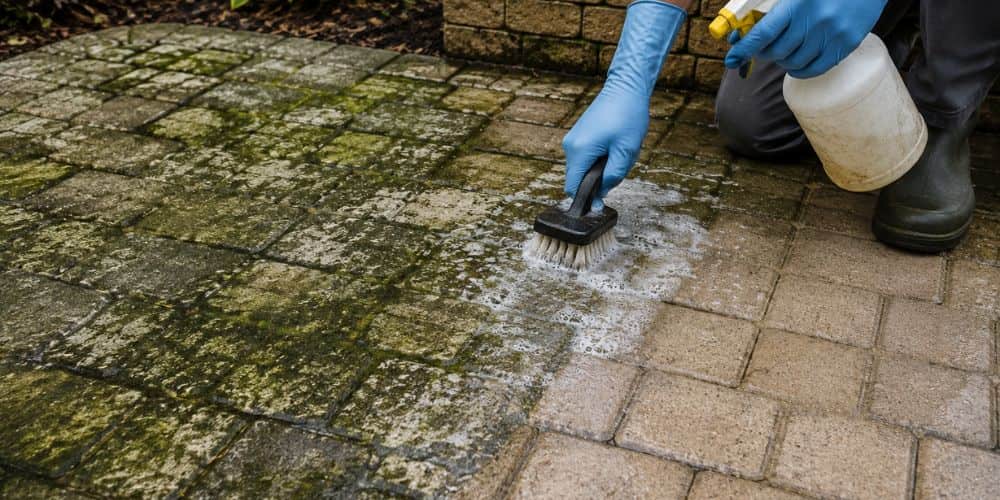
Mold, mildew, and algae are more common in areas that remain damp or receive limited sunlight.
Remove loose growth first and then use a cleaner appropriate for the paver material.
A cleaning treatment may improve the appearance, but recurring growth usually means the surrounding conditions also need attention.
Look for:
- Poor drainage
- Excessive shade
- Constant moisture
- Irrigation overspray
Addressing these conditions can help prevent the problem from returning quickly.
How to Remove Rust Stains From Pavers
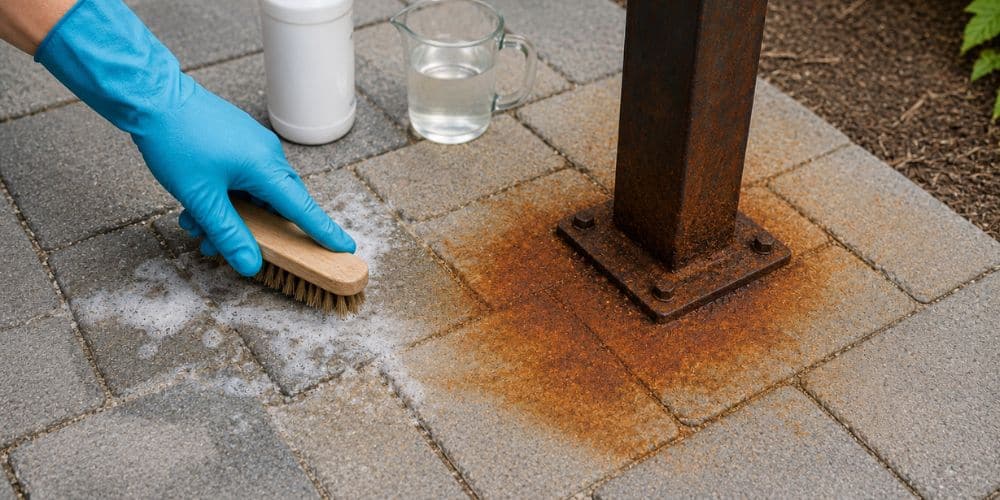
Rust can come from metal furniture, irrigation components, tools, or other metal objects.
Rust-specific cleaners are generally more appropriate than randomly applying strong acids. Always verify that the product is safe for your particular paver material.
How to Remove Leaf and Organic Stains
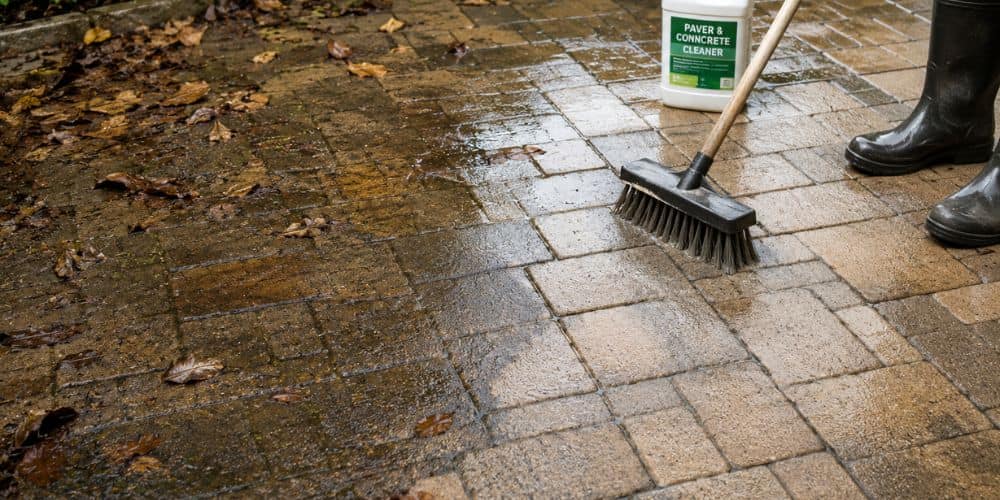
Leaves and other organic debris can leave brown or dark marks when they remain wet on the surface.
Regularly sweeping leaves away can prevent many of these stains. If discoloration has already developed, use a suitable paver cleaner and follow the product instructions.
How to Deal With Efflorescence
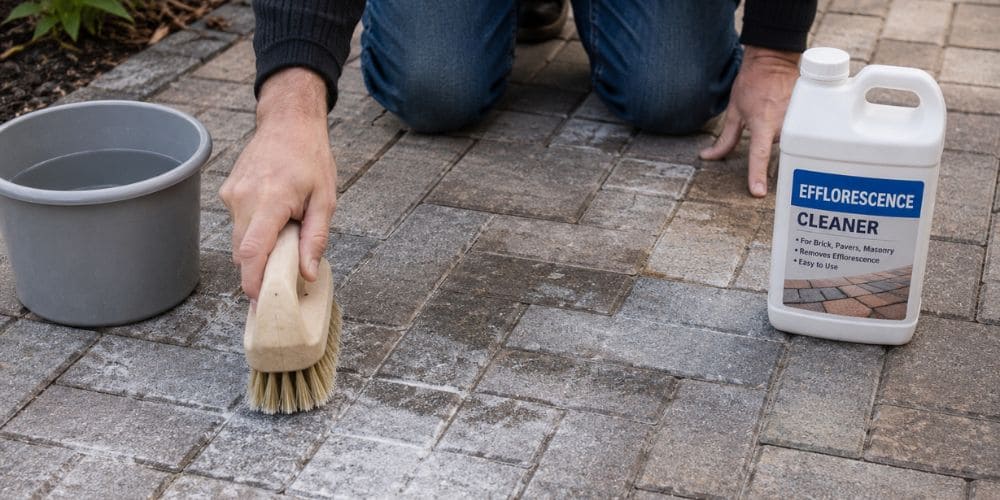
White, powdery deposits on concrete-based pavers may be efflorescence rather than ordinary dirt.
Efflorescence occurs when soluble salts move through cement-based materials and reach the surface.
Some cases diminish naturally over time, while persistent deposits may require a product specifically formulated for efflorescence.
Common Paver Stains and Cleaning Approaches
| Stain Type | Cleaning Approach | What to Avoid |
| Oil and grease | Absorb fresh spills and use a compatible degreaser | Rubbing fresh spills deeper into the surface |
| Rust | Use a suitable rust-removal product | Strong acids without confirming compatibility |
| Moss and algae | Brush and use a compatible cleaner | Unapproved harsh chemicals |
| Leaf stains | Remove organic debris and use an appropriate cleaner | Leaving wet leaves on the surface |
| Tire marks | Use a mild cleaner and controlled scrubbing | Wire brushes and abrasive tools |
| Efflorescence | Use an appropriate efflorescence treatment | Treating it like ordinary dirt |
How to Clean Pavers Without a Pressure Washer
A pressure washer is not necessary for every cleaning job.
If your patio mainly has dust, dirt, pollen, or light organic buildup, you can often use:
- Broom or leaf blower
- Garden hose
- Suitable paver cleaner
- Stiff-bristle brush
The basic process is simple:
Sweep → Rinse → Apply Cleaner → Scrub → Rinse
This method gives you more control around joints, landscaping, and older pavers.
If the stain remains, identify the problem before switching to a more aggressive cleaning method.
How to Clean Concrete Pavers
Begin by sweeping away loose debris and rinsing the surface. For additional cleaning, use a product designed for concrete pavers and scrub with an appropriate brush.
For stubborn stains, select a treatment based on the stain rather than simply increasing water pressure.
If your concrete pavers are sealed, check the sealer manufacturer’s recommendations before using a cleaning product.
Older or weathered pavers may also require a gentler approach than newer surfaces.
Can You Pressure Wash Pavers Without Damaging Them?
Pressure washing can clean large areas quickly, but improper pressure or technique can damage some paver surfaces and remove joint sand.
If pressure washing is appropriate for the paver and its finish, start with a low-pressure setting and test a small, inconspicuous area first. Keep the nozzle moving, avoid concentrating the spray in one spot, and take care not to blast joint sand out of the gaps.
If you are unsure whether pressure washing is suitable for your pavers, a hose-and-brush method may be a safer choice for routine cleaning.
How Does Cleaning Affect Paver Joints?
The joints between pavers should be considered part of the cleaning process.
They collect dirt, soil, leaves, weeds, and organic material over time. Aggressive pressure washing can also remove joint sand.
After cleaning, inspect the joints for gaps or erosion.
If sand has been removed, re-sanding may be necessary. Properly maintained joints can help reduce weed growth and support the stability and appearance of the installation.
What Should You Do After Cleaning Your Pavers?
Once cleaning is complete, allow the pavers to dry before evaluating the final result.
Check for:
- Remaining stains
- Missing joint sand
- Loose pavers
- Cracks
- Standing water
- Weeds
- Surface damage
If joint sand has been lost, address it before completing other maintenance.
Paver sealing may also be appropriate for some installations. The right sealer depends on the material, existing finish, desired appearance, and manufacturer’s recommendations.
Never assume every paver needs to be sealed immediately after cleaning.
Common Mistakes to Avoid When Cleaning Pavers
A safe cleaning process means knowing what not to do.
Using Harsh Chemicals
Strong acids such as muriatic or hydrochloric acid can etch or damage certain paver materials, particularly some natural stones. Always choose a product that is specifically suitable for your surface.
Overusing a Pressure Washer
Too much pressure can scar certain surfaces and wash joint sand out from between the pavers.
Skipping the Re-Sanding Step
If cleaning removes joint sand, leaving gaps open can encourage weeds and soil buildup and may affect the condition of the installation.
Ignoring Manufacturer Instructions
Cleaning products, sealers, and paving materials can have different requirements. Follow the manufacturer’s instructions before applying any product.
Using a Wire Brush
Wire brushes can scratch or permanently mark some surfaces. Use a brush appropriate for the material instead.
Applying a Cleaner Without Testing It
When using an unfamiliar product, test it on a small, inconspicuous area first.
Ignoring Nearby Landscaping
Some cleaning solutions can affect grass and plants. Protect nearby landscaping and follow the product’s instructions regarding runoff and plant exposure.
Regular Paver Maintenance for Homeowners
Proper cleaning does not stop once the patio looks clean. Regular upkeep can prevent dirt, stains, weeds, and organic growth from becoming difficult problems.
Routine Paver Maintenance Checklist
- Sweep regularly: Use a broom or leaf blower to remove loose dirt, leaves, and debris.
- Rinse when needed: Use a garden hose to remove dust, pollen, and light buildup.
- Clean spills promptly: Spot-clean oil, food, drinks, and other spills before they become harder to remove.
- Control weeds and organic growth: Remove weeds, moss, and algae before they become established between joints.
- Check joint sand and pavers: Look for gaps, erosion, loose pavers, or other signs that maintenance may be needed.
- Address drainage and irrigation problems: Investigate standing water or irrigation overspray that may contribute to recurring stains and organic growth.
Deep clean when needed based on traffic, climate, landscaping, and surface condition.
Frequently Asked Questions About Cleaning Pavers
What Is the Best Way to Clean a Paver Patio?
Start by sweeping away loose debris, then rinse the surface and use a compatible cleaner with a suitable brush for stains. Rinse thoroughly and inspect the joints afterward.
How Often Should Pavers Be Cleaned?
Sweep regularly and deep clean when dirt, stains, algae, or other buildup becomes noticeable. The need for deeper cleaning varies based on traffic, climate, landscaping, and surface condition.
Does Vinegar Damage Pavers?
Vinegar may damage some paver materials, finishes, or sealers. Check the manufacturer’s recommendations before using it.
Why Do Pavers Get Dirty Again After Cleaning?
Rain, irrigation, shade, leaves, runoff, and standing water can cause dirt or organic growth to return. Addressing these conditions can help reduce recurring buildup.
Is It Safe to Use Dish Soap on Pavers?
Mild dish soap can work for light dirt on some paver surfaces. Use a small test area first and rinse thoroughly.
Should Pavers Be Sealed After Cleaning?
Sealing is optional and depends on the paver material and existing finish. Follow the manufacturer’s recommendations.
How Can I Prevent Weeds From Growing Between Pavers?
Remove weeds early and keep the joints filled with appropriate joint material. Regular sweeping can also help reduce debris buildup.
Why Are My Pavers Developing Green or Dark Spots?
Green or dark spots can be caused by algae, moss, mildew, or excess moisture. Check for shade, poor drainage, or irrigation overspray.
Final Thoughts
Keeping pavers clean involves more than removing visible dirt. The type of paver, stain, joint condition, drainage, irrigation, landscaping, and weather can all affect how the surface looks and how quickly problems return.
Start with the least aggressive cleaning method that can handle the problem. Regular sweeping, quick spill cleanup, proper joint maintenance, and attention to drainage can help keep your patio cleaner between deeper cleanings.
If stains or organic growth continue to return, look beyond the surface to identify the underlying cause. When pavers are damaged, joint sand is deteriorating, or you are unsure which cleaning method is safe, The Works Lawn Service can help you choose a more controlled approach to paver cleaning and maintenance.